What you are doing
A clear explanation of the setup, what each part does, and why the checks afterwards matter.
Customize the built-in AzuraCast public player page to show album art, listener numbers, history and station branding.
Written for customers who just want the task done without the jargon.
Use it as a checklist while you work through the panel.
Includes reminders for passwords, backups, SSL, DNS and live services.
Open a ticket if the screen looks different or you want us to check it.
Made for websites, radio streams and customer-facing services.
Customize the built-in AzuraCast public player page to show album art, listener numbers, history and station branding. We have expanded this guide with a bit more context, friendlier wording and practical checks so you know what to do before, during and after the change.
A clear explanation of the setup, what each part does, and why the checks afterwards matter.
Common mistakes, missing settings and small details that can make a simple task feel broken.
Clear prompts for when it is safer to open a support ticket instead of guessing on a live service.
AzuraCast gives you a lot of control, so it helps to make small changes and check the public player, stream link or media library after each one.

This guide is for people who want to get the setup done without getting lost in control-panel wording.
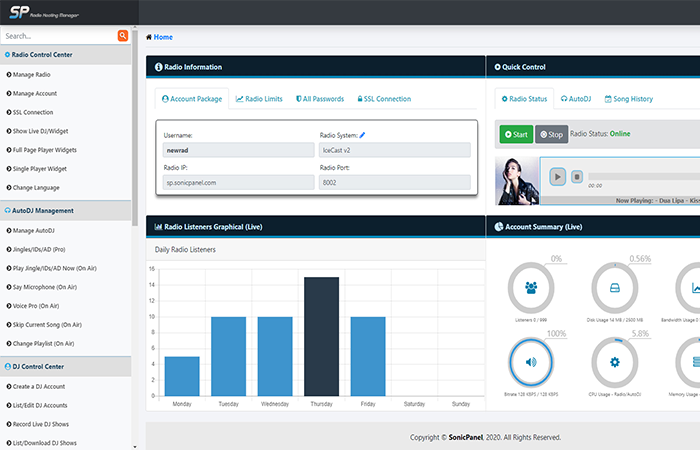
AzuraCast is powerful because it gives you a lot of control over stations, playlists, streamers, mount points, public pages and reports. That flexibility is great, but it also means there are a few places where settings can overlap.
Before changing anything, make sure you are inside the correct station rather than the global admin area. If the platform asks to restart, reload or apply changes, allow a little time and avoid doing it during a key live show unless you are confident it is safe.
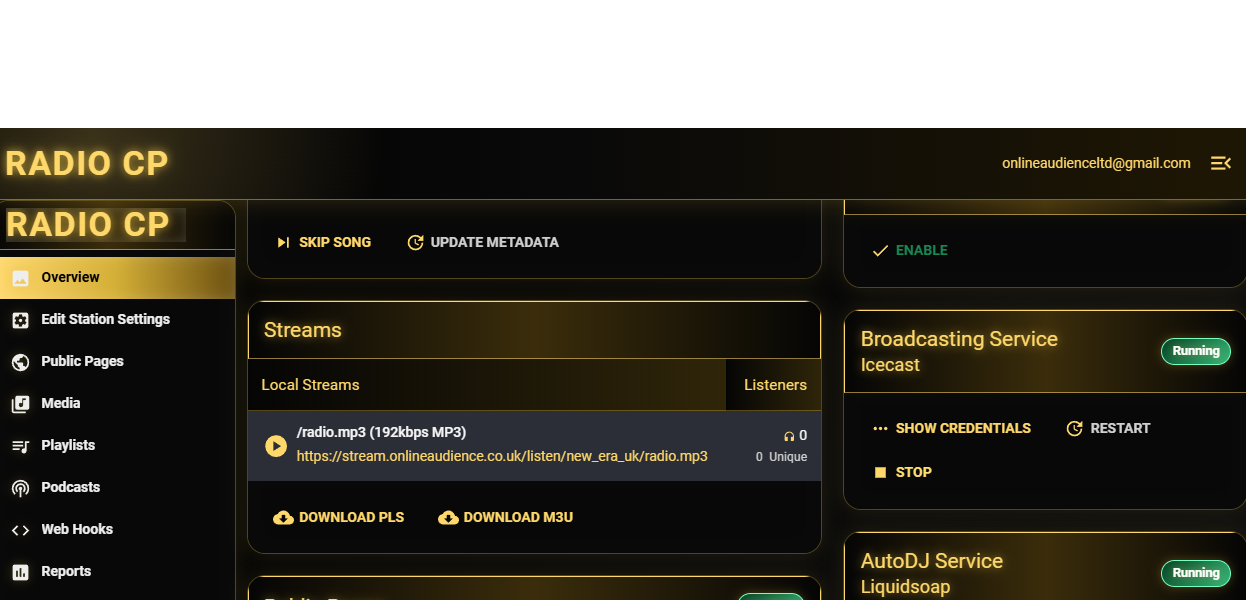
The public player page is often the first thing listeners see when they follow your stream link. A tidy title, logo and description make it feel like a real station rather than a default technical page.
Work through the steps in order. Do not worry if your screen is not identical; hosting panels can look slightly different depending on the theme, package and permissions on your account.
The aim is simple: Customize the built-in AzuraCast public player page to show album art, listener numbers, history and station branding. The important part is to make one clear change at a time, then test it before moving on.
If you are doing this for a live website or station, pick a quieter time where possible. That gives you room to test without putting unnecessary pressure on the service.
Keep branding simple and readable. If you add links, make sure they point to places listeners actually need, such as your website, schedule or contact page.
With AzuraCast, the most common mistakes are mixing up station-level settings with account-level settings, forgetting to save the station profile, using the wrong mount point, or testing from a browser that is still playing an old cached stream. If the first test does not work, check the simple bits before assuming the whole setup is broken.
This is the bit most short guides skip, but it is usually where the fix is. Before changing lots of settings, check the basics: correct account, correct domain or station, saved settings, clean password, and a fresh test from another browser or device.
A control panel saying something is saved is only half the job. The real test is whether the website, mailbox, stream, player, presenter login or public page behaves properly for the people using it.
Once you are happy, keep a short note of what you changed. It makes future troubleshooting much easier, especially if more than one person works on the station or website.
If the panel looks different, the option is missing, or you are worried about touching a live service, send us a ticket with the account, domain, station name or screenshots. We can point you in the right direction or advise on the safer route.
For anything involving DNS, SSL, migrations, live radio, mail delivery, databases or customer-facing websites, a ticket is usually better than guesswork because it gives everyone a clear record of what changed.
“Online Audience made our launch simple, professional and reliable from day one.”
Station Owner
“Fast support, clear pricing and a setup that finally feels easy to manage.”
Business Owner
“The platform is stable, the team understands hosting, and clients get a better experience.”
Web Developer
Continue learning or choose a service path that fits your setup.
Online Audience helps broadcasters, businesses and creators manage hosting, streaming, websites and support routes from one professional service provider.